Singer 328K Manual: A Comprehensive Guide
Delve into this Singer 328K service manual, unlocking its features and functions with essential operating instructions for a seamless sewing experience.
Welcome to the world of the Singer 328K! This robust and reliable sewing machine has been a steadfast companion to generations of seamstresses and tailors. Known for its durability and straightforward mechanics, the 328K offers a classic sewing experience. This manual serves as your comprehensive guide to understanding, operating, and maintaining this exceptional machine.
Whether you are a seasoned sewing enthusiast or a beginner embarking on your creative journey, this resource will provide you with the knowledge needed to unlock the full potential of your Singer 328K. We will explore its unique features, delve into detailed operating instructions, and offer practical troubleshooting tips to ensure years of enjoyable and productive sewing. Prepare to rediscover the joy of crafting with this timeless machine!
Historical Context of the 328K
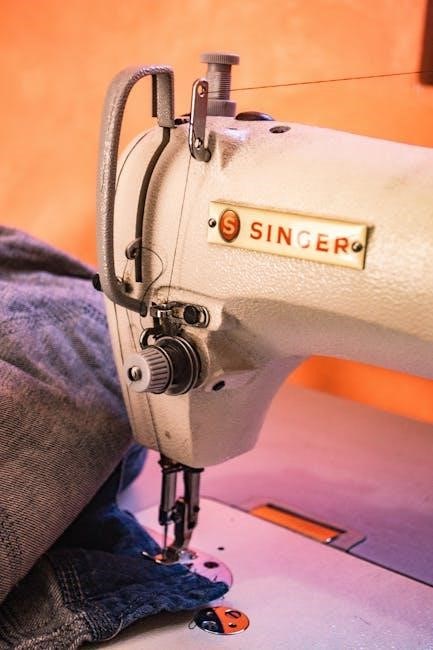
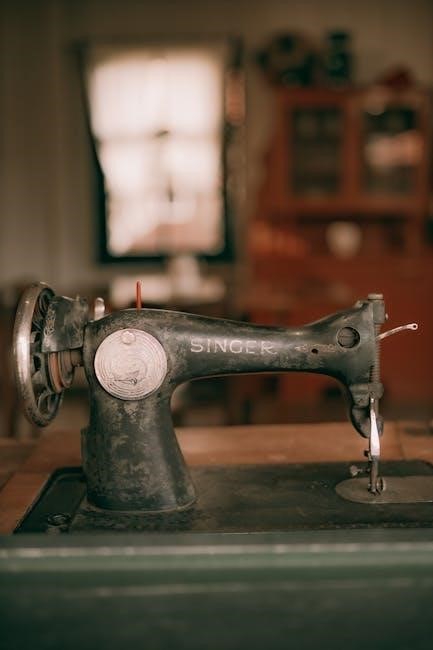
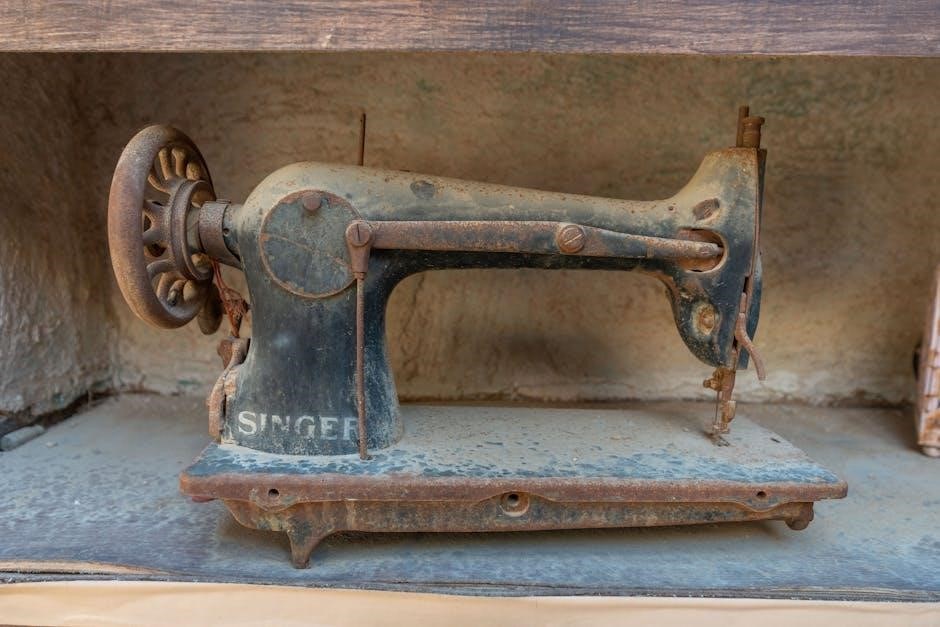
The Singer 328K boasts a rich history, originating as a durable and dependable machine produced primarily in the 1950s and 60s. It was designed to cater to both domestic and industrial sewing needs, becoming a popular choice for its robust construction and ability to handle a variety of fabrics. This model represents a pivotal era in Singer’s manufacturing, showcasing their commitment to quality and innovation.
Often referred to as a “slant shank” machine, the 328K was a workhorse in many households and workshops. Its enduring popularity stems from its simplicity and ease of repair. Understanding its historical context provides valuable insight into its design and functionality, allowing for a deeper appreciation of this classic sewing machine. It remains a sought-after model by collectors and sewing enthusiasts alike.
Key Features and Specifications
The Singer 328K is renowned for its robust, full-metal construction, ensuring longevity and consistent performance. It’s a mechanical machine, offering direct control and a satisfying tactile sewing experience. Key features include a zigzag stitch capability, adjustable stitch length and width, and a reverse lever for secure backstitching.
Specifications include: a maximum stitch length of 5mm, a maximum zigzag width of 5mm, and a slant shank system for needle attachment. It utilizes standard 15×1 needles and class 66 bobbins. The machine operates on standard household electricity and is capable of sewing through multiple layers of fabric. Its simplicity and reliability make it a favorite among sewing machine users.

Setting Up Your Singer 328K
Prepare for successful sewing! This section guides you through initial inspection, parts identification, and the essential steps to get your 328K ready.
Initial Inspection and Parts Identification
Upon unboxing your Singer 328K, a thorough inspection is crucial. Carefully examine the machine for any signs of damage incurred during shipping. Verify the presence of all listed components, including the power cord, foot controller, various presser feet, bobbins, needle set, screwdriver, and this service manual itself.
Familiarize yourself with the key parts: the handwheel, stitch length dial, stitch width dial, reverse lever, tension dials, bobbin winder, needle clamp, presser foot, feed dogs, and throat plate. Locate the bobbin case and understand its mechanism. Identifying these components upfront will greatly simplify the setup and operation process.
Refer to the exploded diagram within this manual to visually confirm the placement and function of each part. Note any discrepancies immediately and contact your retailer or Singer customer support if anything is missing or damaged.
Bobbin Winding Procedure
Proper bobbin winding is essential for consistent stitch quality. Begin by placing the spool of thread onto the spool pin, securing it with the spool cap. Next, draw the thread through the thread guide, ensuring it engages the tension disc. Then, thread the end of the thread through the hole in the bobbin, pulling a tail of several inches.
Place the bobbin onto the bobbin winder spindle. Gently push the bobbin winder to the right, engaging it with the handwheel. Depress the foot controller to start the machine; the bobbin will begin to wind. Monitor the winding process, allowing the bobbin to fill evenly.
Once full, the bobbin winder will automatically stop. Cut the thread and remove the bobbin. Always use genuine Singer bobbins for optimal performance.
Threading the Machine – Step-by-Step
Begin by raising the presser foot and ensuring the needle is in its highest position. Start by threading the spool pin, guiding the thread through the first thread guide. Next, lead the thread down and around the tension discs, ensuring it’s securely seated. Continue threading through the take-up lever, then down to the needle bar thread guide.
Thread the needle from front to back. It’s crucial to follow this order precisely for correct tension. After threading the needle, draw up a loop of the bobbin thread by turning the handwheel towards you.
Finally, insert the bobbin into the bobbin case, ensuring it clicks into place. A correctly threaded machine is vital for smooth operation.
Needle Selection and Installation
Choosing the correct needle is paramount for optimal sewing. The Singer 328K utilizes system 15 needles, available in various sizes (e.g., 90/14, 100/16) corresponding to fabric weight. Finer fabrics require smaller needles, while heavier materials demand larger ones.
To install, ensure the machine is off. Loosen the needle clamp screw using the screwdriver. Insert the needle with the flat side facing the back of the machine, pushing it up until it hits the stop.
Tighten the needle clamp screw firmly, but avoid over-tightening. A properly installed needle ensures consistent stitch formation and prevents breakage. Regularly inspect the needle for damage.

Basic Sewing Operations
Master fundamental techniques with your Singer 328K, including straight and zigzag stitching, alongside precise adjustments for stitch length and tension control.
Straight Stitching – Mastering the Basics
Embark on your sewing journey with the foundational straight stitch on your Singer 328K. Begin by ensuring proper threading and bobbin winding, crucial for consistent results. Select a suitable needle for your fabric weight – a universal needle is a good starting point. Practice stitching on scrap fabric to establish a comfortable rhythm and consistent seam allowance.
Observe the stitch formation; ideally, it should be even and uniform. Adjust stitch length based on your project needs – shorter stitches for delicate fabrics and longer stitches for heavier materials. Maintaining a consistent feed rate is key; avoid pulling or pushing the fabric. Experiment with guiding the fabric gently, allowing the machine to do the work.
Troubleshooting common issues like skipped stitches often involves re-threading the machine or checking the needle for damage. Remember, consistent practice builds proficiency, transforming basic straight stitching into a reliable skill for all your sewing endeavors.
Zigzag Stitching – Applications and Adjustments
Unlock the versatility of the zigzag stitch on your Singer 328K, expanding your sewing capabilities. This stitch excels in finishing raw edges, preventing fabric fraying, and creating decorative elements. Adjust the stitch width and length using the corresponding dials – wider stitches offer greater coverage, while longer stitches provide flexibility.
Experiment with different width and length combinations to achieve desired effects. A narrow zigzag is ideal for reinforcing seams, while a wider zigzag creates a decorative finish. Utilize the zigzag stitch for stretch fabrics, allowing the seam to stretch with the material. Practice on scrap fabric to understand how adjustments impact the stitch appearance.
Troubleshooting uneven zigzag stitches often involves checking the needle and thread tension. Ensure the presser foot is correctly installed and the fabric is feeding smoothly. Mastering zigzag stitching opens doors to creative embellishments and durable seam finishes.
Adjusting Stitch Length and Width
Precisely control your stitch appearance on the Singer 328K by mastering stitch length and width adjustments. Locate the dedicated dials – typically marked with numerical values or visual representations – to modify these settings. Shorter stitch lengths create denser, more secure seams, ideal for heavy-duty fabrics or areas requiring extra reinforcement.
Longer stitch lengths are suitable for basting, gathering, or sewing lightweight materials. Adjusting stitch width alters the zigzag pattern’s breadth, impacting both functionality and aesthetics. Wider widths are perfect for decorative stitching or securing stretchy fabrics, while narrower widths reinforce seams.
Always test adjustments on scrap fabric before applying them to your project. Observe how different settings affect the fabric’s drape and seam strength. Consistent practice will enable you to confidently select the optimal stitch length and width for any sewing task.
Tension Adjustment – Achieving Optimal Results
Achieving balanced tension is crucial for professional-looking seams on your Singer 328K. Incorrect tension leads to looping, puckering, or weak stitches. The tension dial controls the force pulling the upper thread through the fabric. Begin with the factory default setting and test on scrap fabric, observing the stitch formation.
If the upper thread loops on the underside, decrease the upper tension. Conversely, if the bobbin thread pulls to the top, increase the upper tension. Minor adjustments are key; avoid drastic changes. Consider thread type and fabric weight – heavier fabrics and thicker threads generally require higher tension.
Consistent testing and careful observation will help you fine-tune the tension for optimal results, ensuring strong, even stitches every time.

Advanced Techniques & Troubleshooting
Master complex projects and resolve common issues with detailed guidance, ensuring your Singer 328K performs flawlessly for years of creative sewing.
Sewing Different Fabric Types
The Singer 328K, while robust, requires adjustments when working with varied fabrics. For lightweight materials like chiffon or silk, a finer needle (size 60/8 or 70/10) and reduced stitch length are crucial to prevent puckering.
Conversely, heavier fabrics such as denim or canvas demand a stronger needle (size 90/14 or 100/16) and potentially increased thread tension. Always test on a scrap piece first!
Knits benefit from a ballpoint needle to avoid snagging, and a slightly longer stitch length provides necessary stretch.
Wool and felt may require a specialized foot to prevent sinking. Experiment with presser foot pressure for optimal results.
Understanding fabric grain and using appropriate stabilizers will further enhance your sewing experience with the 328K.
Dealing with Common Threading Issues
Threading errors are frequent culprits for sewing problems on the Singer 328K. Ensure the presser foot is raised during threading, as this releases tension discs, allowing smooth thread passage.
Verify the thread is correctly seated in all guides and the take-up lever. A common mistake is missing a guide, causing skipped stitches or tangling.
If the thread repeatedly breaks, check for burrs or rough edges on the spool pin or thread guides.
Incorrect bobbin threading is another common issue; confirm it’s wound evenly and inserted correctly.
Always re-thread both the upper and lower threads when changing thread types or experiencing persistent problems.
Troubleshooting Needle Breakage
Needle breakage on your Singer 328K can be frustrating, but often stems from preventable causes. First, ensure you’re using the correct needle type and size for your fabric weight.
A bent or damaged needle is a prime suspect; always replace it immediately.
Incorrect threading, particularly if the thread is too thick for the needle eye, can cause stress and breakage.
Pulling or pushing the fabric while sewing puts undue strain on the needle. Let the machine feed the fabric naturally.
Finally, check the needle plate for damage or obstructions. A misaligned or damaged plate can deflect the needle.
Addressing Tension Problems in Detail
Tension issues are common with the Singer 328K, manifesting as looping stitches or puckering fabric. Begin by re-threading both the upper thread and the bobbin, ensuring proper path adherence.
The upper tension dial is your primary control; small adjustments are key.
A loose upper tension results in looping on the underside, while tight tension causes puckering.
Bobbin tension, though less frequently adjusted, can also be a culprit.
Test stitch on scrap fabric after each adjustment. Consider thread type and fabric weight, as these influence optimal tension settings.

Maintenance and Care
Preserve your Singer 328K’s longevity through regular cleaning, proper lubrication, and timely part replacements, ensuring consistent performance and reliable sewing.
Regular Cleaning Procedures
Maintaining a clean Singer 328K is crucial for optimal performance and preventing mechanical issues. Begin by disconnecting the power source before any cleaning. Use a soft brush – an old toothbrush works wonderfully – to remove lint and dust from the bobbin area, feed dogs, and around the needle plate;
For stubborn lint, a small vacuum cleaner attachment can be employed, but exercise caution to avoid damaging delicate parts; Wipe down the exterior surfaces with a slightly damp cloth; avoid harsh chemicals or abrasive cleaners. Pay particular attention to oiling points, as dust accumulation hinders lubrication.
Regularly cleaning after each use, or at least after every few projects, will significantly extend the life of your machine and ensure consistently high-quality stitching. A clean machine is a happy machine!
Lubrication Guide – What and Where to Oil
Proper lubrication is vital for the smooth operation of your Singer 328K. Use only sewing machine oil – never household oil – as it’s formulated for these delicate mechanisms. Key oiling points include the bobbin race, accessible after removing the bobbin case, and the motor shaft. Apply a small drop to each point, ensuring it reaches the moving parts.
The connecting rod between the handwheel and the needle bar also requires occasional oiling. Avoid over-oiling, as excess oil attracts dust and can cause build-up. After oiling, run the machine briefly to distribute the lubricant.
Regularly oiled machines experience reduced friction, quieter operation, and prolonged lifespan. Consult your manual’s diagram for precise oiling locations and frequency recommendations.
Belt Replacement Instructions
Replacing the belt on your Singer 328K restores power transmission when it becomes worn or broken. First, disconnect the machine from the power source! Remove the motor cover plate, typically secured with screws. Carefully detach the old belt from both the motor pulley and the handwheel pulley.
Install the new belt, ensuring a snug fit around both pulleys. The belt should not be too tight or too loose; proper tension is crucial. Reattach the motor cover plate, securing it firmly.
Before reconnecting power, manually turn the handwheel to verify the belt runs smoothly. A correctly installed belt will provide consistent power to the needle.
Troubleshooting Motor Issues
If your Singer 328K motor isn’t running, begin with the basics: ensure the power cord is securely connected and the outlet is functioning. Check the motor brushes for wear; worn brushes often cause intermittent operation or complete failure. Replace them if necessary.
Inspect the belt for breakage or slippage, as a damaged belt prevents power transfer. A humming sound with no movement suggests a jammed mechanism – carefully check for obstructions.
If the motor runs slowly, it could indicate insufficient lubrication or internal motor issues requiring professional servicing. Never attempt to disassemble the motor yourself unless you are a qualified technician!
Attachments and Accessories

Explore a diverse range of presser feet and optional accessories designed to expand the capabilities of your Singer 328K sewing machine.
Presser Feet – A Detailed Overview
The Singer 328K boasts a versatile selection of presser feet, each designed for specific sewing tasks. Understanding these feet unlocks the machine’s full potential. The standard zig-zag foot is your all-purpose workhorse, ideal for everyday stitching and decorative applications. A narrow zig-zag foot excels at applying elastic and lace, providing precise control.
For buttonholes, a dedicated buttonhole foot ensures consistent and professional results. A rolled hem foot creates delicate, finished edges on lightweight fabrics. Furthermore, an invisible zipper foot simplifies the insertion of concealed zippers, offering a clean finish. Exploring these options allows for greater creativity and efficiency. Proper foot selection dramatically impacts stitch quality and project success, making it a crucial aspect of mastering the 328K.
Using the Hemmer Foot
The Singer 328K’s hemmer foot is a specialized attachment for creating beautifully rolled hems on lightweight fabrics like chiffon and silk. Correct setup is vital for success. Begin by selecting the appropriate hemmer foot for your desired hem width – these come in various sizes. Ensure the fabric edge aligns perfectly with the guide on the foot.
Adjust stitch length to a shorter setting for a neater finish. Practice on scrap fabric first to refine your technique. Gently guide the fabric, avoiding pulling or pushing, allowing the foot to roll the edge as you sew. Consistent speed is key. This foot requires a bit of practice, but the resulting professional-looking rolled hem is well worth the effort, adding a delicate touch to your projects.
Exploring Additional Accessory Options
Beyond the standard attachments, the Singer 328K benefits from a range of optional accessories to expand its capabilities. Consider a gathering foot for creating ruffles and gathers with ease, perfect for decorative details on dresses or curtains. A blind hem foot allows for nearly invisible hems, ideal for professional-looking finishes on skirts and trousers.
Edge stitching feet provide precise control when sewing close to fabric edges. For quilting enthusiasts, a quilting foot is invaluable. Numerous specialty feet cater to specific tasks like piping, cording, and decorative stitching. Exploring these options unlocks the full potential of your 328K, transforming it into a versatile sewing machine capable of tackling diverse projects with precision and flair.